
Contents
My first contribution to WordPress development was in May 2020. It was to the Gutenberg project, and I have continued contributing ever since. The Gutenberg project’s source code is hosted on GitHub, so I learned various things there, such as how to use git commands, manage branches, and submit pull requests.
On the other hand, the WordPress core source code is managed using SVN, not Git. Although I was nominated as a core committer in July 2024 and had commit access to the codebase, I had never actually made a commit myself.
In this article, I would like to explain how I develop for WordPress and how I made my first commit to the WordPress core. Please note that I use a Windows OS machine.
How I develop
Code editor and WSL
I use Cursor and have installed the WSL plugin in it and connect to various projects through it.
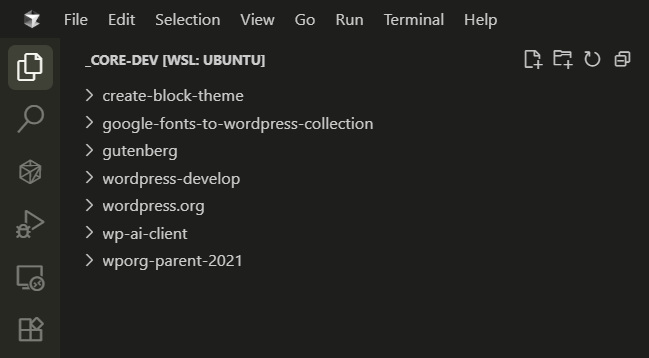
In short, I’m doing almost all of my development within WSL2 (Ubuntu), rather than on the host OS. Based on my experience, it offers better performance than the host OS, allowing for faster installation of npm libraries and project builds. Furthermore, a real Linux environment is running within WSL2, and I can rebuild the environment without affecting the host OS in case any problems arise.
Within that WSL environment, I have cloned the wordpress-develop repository, which I forked to my own GitHub account.
Node version management tool
I use Volta as a version management tool for Node.js. I primarily use Node version 22, but for some projects, the scripts may not work if the Node version is too high, so I change the Node version using commands like the following:
volta install node@20This command is very convenient because it automatically installs npm, which comes bundled with that Node version.
Git commands and GitHub commands
Although I’m only using very basic commands, I’ve registered the following aliases to help me work more efficiently:
s  = status         # Show working directory status
co = checkout       # Switch branches or restore files
b  = branch         # List, create, or delete branches
lo = log --oneline  # Show commit history in one line per commit
Furthermore, I frequently use the following GitHub CLI commands to check out, review, and test pull requests locally.
gh pr checkout {pr_number}Preparing to commit
I’ve submitted patches and pull requests many times before, but they were all committed by other committers. To commit myself, I first needed to create a local working copy of the SVN repository.
When I asked for advice from the core committers in the Slack channel, many of the committers using Windows told me that they create their SVN copies on the host OS rather than in WSL2.
It’s possible that installing the Subversion CLI in WSL would allow me to commit to the core from WSL as well. However, to avoid confusion with the GitHub mirror, wordpress-develop, I decided to set up my commit environment on the host OS.
Installing SVN client
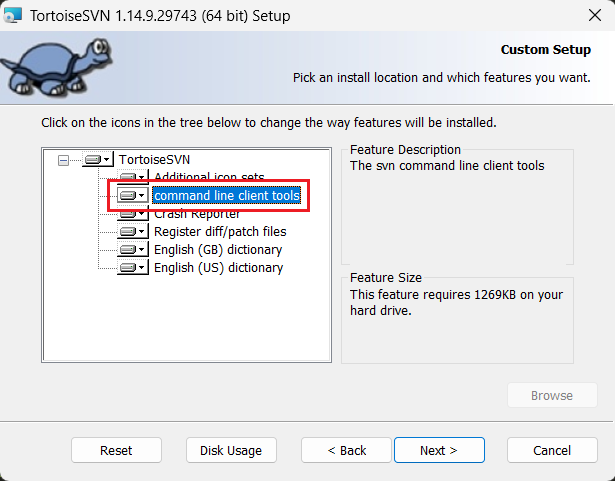
While I prefer the command-line interface (CLI) over the graphical user interface (GUI) for Git, I’m still unfamiliar with SVN, so I installed TortoiseSVN, a Subversion client for Windows. I believe I used this tool in the past when I first published my own plugin to .org, but I haven’t used it much since then, so I probably uninstalled it.
One important point during installation was enabling the “command line client tools” option, as I might need to use SVN command-line tools in the future:
Next, check out the WordPress Trunk according to this document. I used the wordpress-svn/trunk directory, also considering the possibility of creating copies of other branches in the future.
Open the checked-out SVN copy in a code editor. Run svn info to confirm that the CLI is working correctly:
$svn info

Path: .
Working Copy Root Path: D:Desktopwp_devwordpress-svntrunk
URL: https://develop.svn.wordpress.org/trunk
Relative URL: ^/trunk
Repository Root: https://develop.svn.wordpress.org
Repository UUID: 602fd350-edb4-49c9-b593-d223f7449a82
Revision: 61089
Node Kind: directory
Schedule: normal
Last Changed Author: wildworks
Last Changed Rev: 61089
Last Changed Date: 2025-10-30 20:54:22 +0900 (Thu, 30 Oct 2025)
Also, since I will be using Grunt tasks in the next section, we will run npm install here as well.
Furthermore, I executed the following commands:
svn up: Updates the local working copy to the latest state of the repository.svn revert -R .: Discards all changes in the working copy.
Performing commit
Now I’m ready to commit, and my first commit will be related to this ticket:
#64153 (REST API: 403 error occur when resolving or reopening note) – WordPress Trac
Apply patch
A GitHub pull request has been submitted and approved for this ticket. Since GitHub pull requests are for code review purposes, this pull request cannot be merged directly. There is a convenient Grunt task available to apply this pull request to the local SVN repository, so l used that to apply the patch:
$ npm run grunt patch:https://github.com/WordPress/wordpress-develop/pull/10430

> [email protected] grunt
> grunt patch:https://github.com/WordPress/wordpress-develop/pull/10430

package.json has not been modified.
Running "patch:https://github.com/WordPress/wordpress-develop/pull/10430" (patch) task
Fatal error: spawn patch ENOENT
An error occurred: Fatal error: spawn patch ENOENT, and the patch could not be applied. After investigating this error, it appears to be caused by the patch command not being found.
Fortunately, I have Git for Windows installed on my machine, and it seems to include the patch.exe command. I switched from CMD or PowerShell to Git Bash and tried applying the patch again:
$ npm run grunt patch:https://github.com/WordPress/wordpress-develop/pull/10430

> [email protected] grunt
> grunt patch:https://github.com/WordPress/wordpress-develop/pull/10430

package.json has not been modified.
Running "patch:https://github.com/WordPress/wordpress-develop/pull/10430" (patch) task
patching file src/wp-includes/script-loader.php

Done.
After applying the patch, I double-checked the changes using the svn diff command just to be sure.
Create commit message
WordPress has strict formatting and rules defined for commit messages. I referred to this document when creating my commit message:
Editor: Add `auth_callback` to `_wp_note_status` comment meta.

Adds an `auth_callback` to the `_wp_note_status` comment meta so that only users with the `edit_comment` capability can update this meta field via the REST API.

This is necessary to ensure that users can properly resolve or reopen Notes.

Props wildworks, adamsilverstein, westonruter, mamaduka, desrosj.
Fixes #64153.
Commit using TortoiseSVN
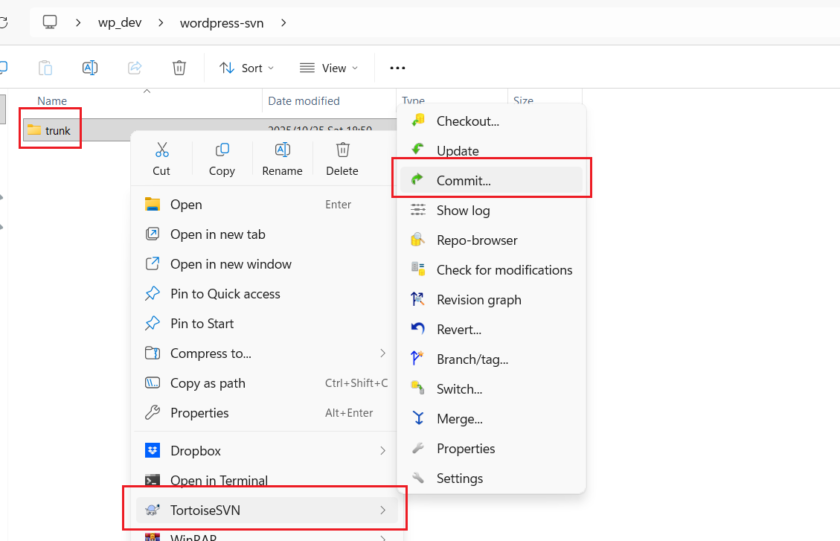
In the future, I might perform commits using the CLI, but until I get more comfortable with SVN, I’ll use TortoiseSVN. Open File Explorer, right-click the wordpress-svn/trunk directory, and access the TortoiseSVN > Commit menu:
Now, I pasted the commit message I prepared earlier. I also double-checked once more to make sure the files that will be changed by the commit are correct:
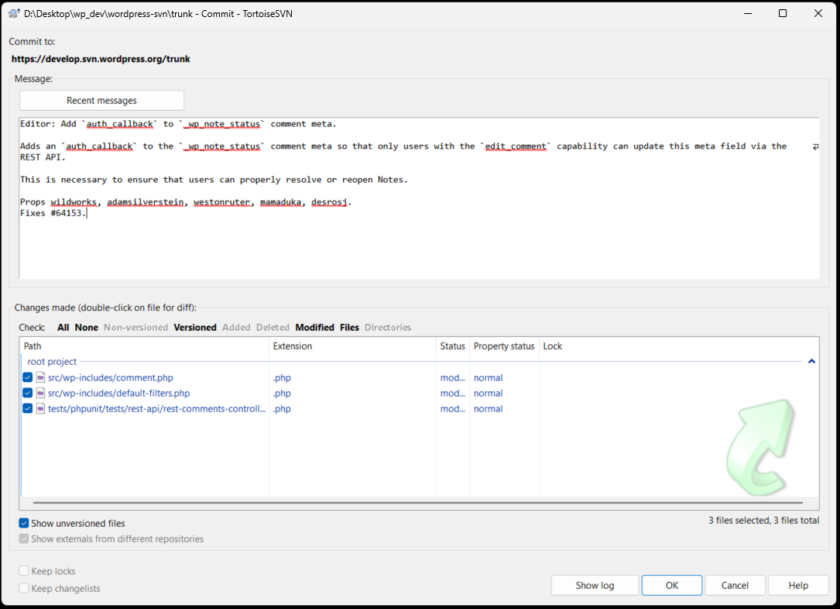
When I clicked the “OK” button, an authentication dialog appeared. This is because only authorized WordPress.org users can commit to WordPress SVN:
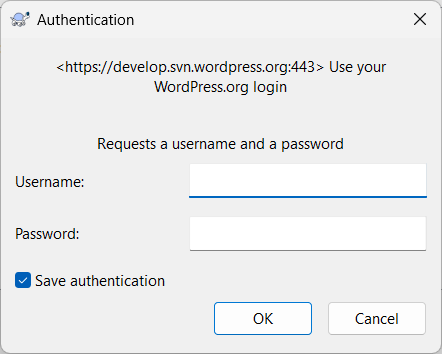
Enter my username and password, and then press the “OK” button. The commit process was executed, and the changes have been successfully committed!
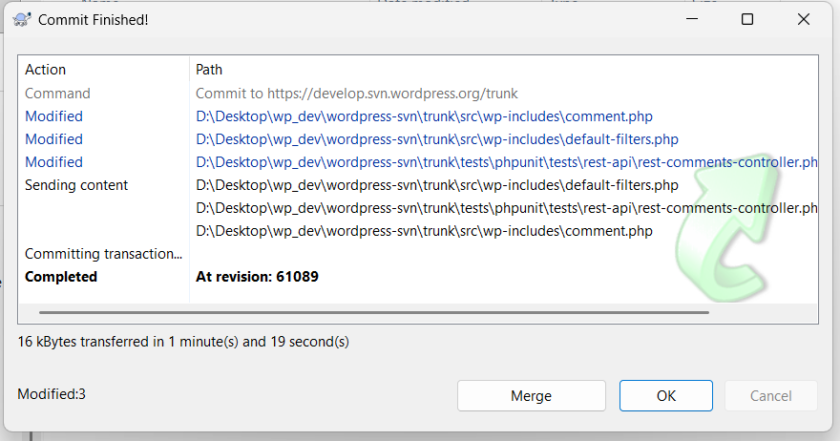
Finally, I verified that this commit is also reflected in Trac (WordPress’s bug tracker and project management tool).
Changeset 61089 – WordPress Trac
References
- Core Committer Workflows – Make WordPress Core
- When you become a committer – Make WordPress Core
- Installing via SVN – Make WordPress Core
- GitHub Pull Requests for Code Review – Make WordPress Core
- Commit Messages – Make WordPress Core
Props to folks who gave me advice and helped me with my first commit.
Leave a Reply